

The (Very) Quick Wood Staining Guide - Get The Best Stain Result
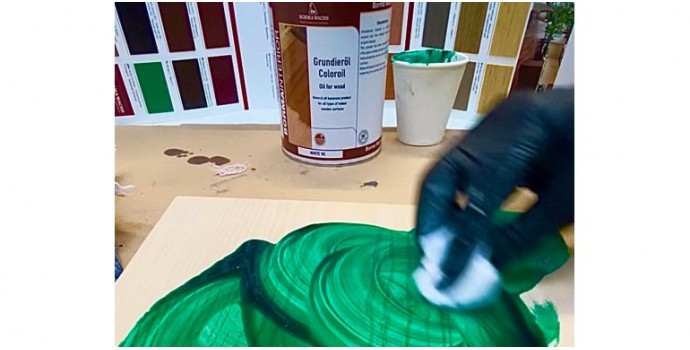
Let's Get Stain Savvy
Staining wood is a critical part of any woodfinishing project....get it wrong and your craftsmanship can be ruined in minutes, but get it right and it will elevate your work to an even higher level. Here's a snap-shot guide to the most important 'do's and don'ts' of wood staining - a 3 minute read can save crisis, sweat and tears!
Let's Get Stain Savvy!
Whilst the process of staining wood is pretty simple and straightforward, it's fair to say it's also pretty effortless to make a complete hash of it too! The last thing you want to do after having either spent time, creative energy and money to design and make a beautiful piece of bespoke furniture or just stripped your trusty farmhouse kitchen table ready for a make-over is to completely ruin your endeavours.
By following a few simple 'do's and don'ts' and doing things in a logical, step-by-step manner you can add beauty, character and that 'wow-factor' you were dreaming of to your wood project.
6 Top 'Do's' to Ensure The Perfect Stained Finish
1. Choose the right stain for the type of wood you're using - all wood species accept stain in different ways due to the woods absorbancy, it's grain structure, the type of cut of the solid or veneer plus the penetrating ability of the stain itself. For example, hardwoods like walnut, oak and cherry are denser than softwoods like pine and larch and so stains don't penetrate as deeply. However, the stains take more consistently to hardwoods as the softwoods tend to have more uneven and open grain structures which can promote patchiness due to variable absorption. Consequently, waterbased stains fare better on softwoods whilst solvent and oil-based stains work really well on hardwoods.
2. Preparation, preparation, preparation - you simply can't cut corners when it comes to preparing your wood for staining and any attempted short-cut will almost certainly lead to heartache.
Sanding the wood without the correct sandpaper is often over-looked and is a surefire way to cause you all sorts of staining angst! Rule of thumb for virgin timber is start with 150 grit and then onto 180 grit for furniture prior to staining and for untreated flooring or parquet aim for 80-100 grit first followed by 120 grit prior to application of the stain. For previously finished furniture or flooring you'll need to start with coarser grits to remove and residual finish ad then move up through to the recommended finishing grits.
Go too fine with grits and you'll end up polishing the wood and closing up the pores meaning poor stain penetration, whilst going too coarse will result in a very patchy, blotchy result. And of course, always sand with the direction of the grain and not across it so as not to leave deep scratch patterns that will only become apparent when you stain. Using an orbital sander helps here too.
3. Application Method - how you apply your wood stain will vary dependent on several factors including, but not limited to, what kind of equipment you have, what space or environment you're working in, the size and orientation of the piece you're staining and the type of stain you've decided on.
If you're staining a bespoke cabinet for example your first consideration is do you stain the individual parts like the top, the drawer fronts and the frame or do you build it and stain the whole piece? Size and orientation comes into play here, as does your working environment - if you're in a workshop with a spraybooth then it's likley you have a level of finishing skill so it's going to be easier to spray stain the constructed piece and rag off to even it out whereas if you're in your garage at home either brushing and ragging off the excess or a simple rag-on, rag-off approach will work best. Whichever route you take 9 times out of 10 you'll need to apply the stain relatively wet, leave it a minute of so to penetrate evenly and then rag-off the excess with a white, lint-free cloth to even it out before it dries. Avoid coloured cloths especially if using a solvent-based stain as the dyes in the cloth can resolube and affect your stain colour. Always remove the excess stain by ragging in circular motions first and finishing with the direction of the grain so as not to leave any unsightly drag marks.
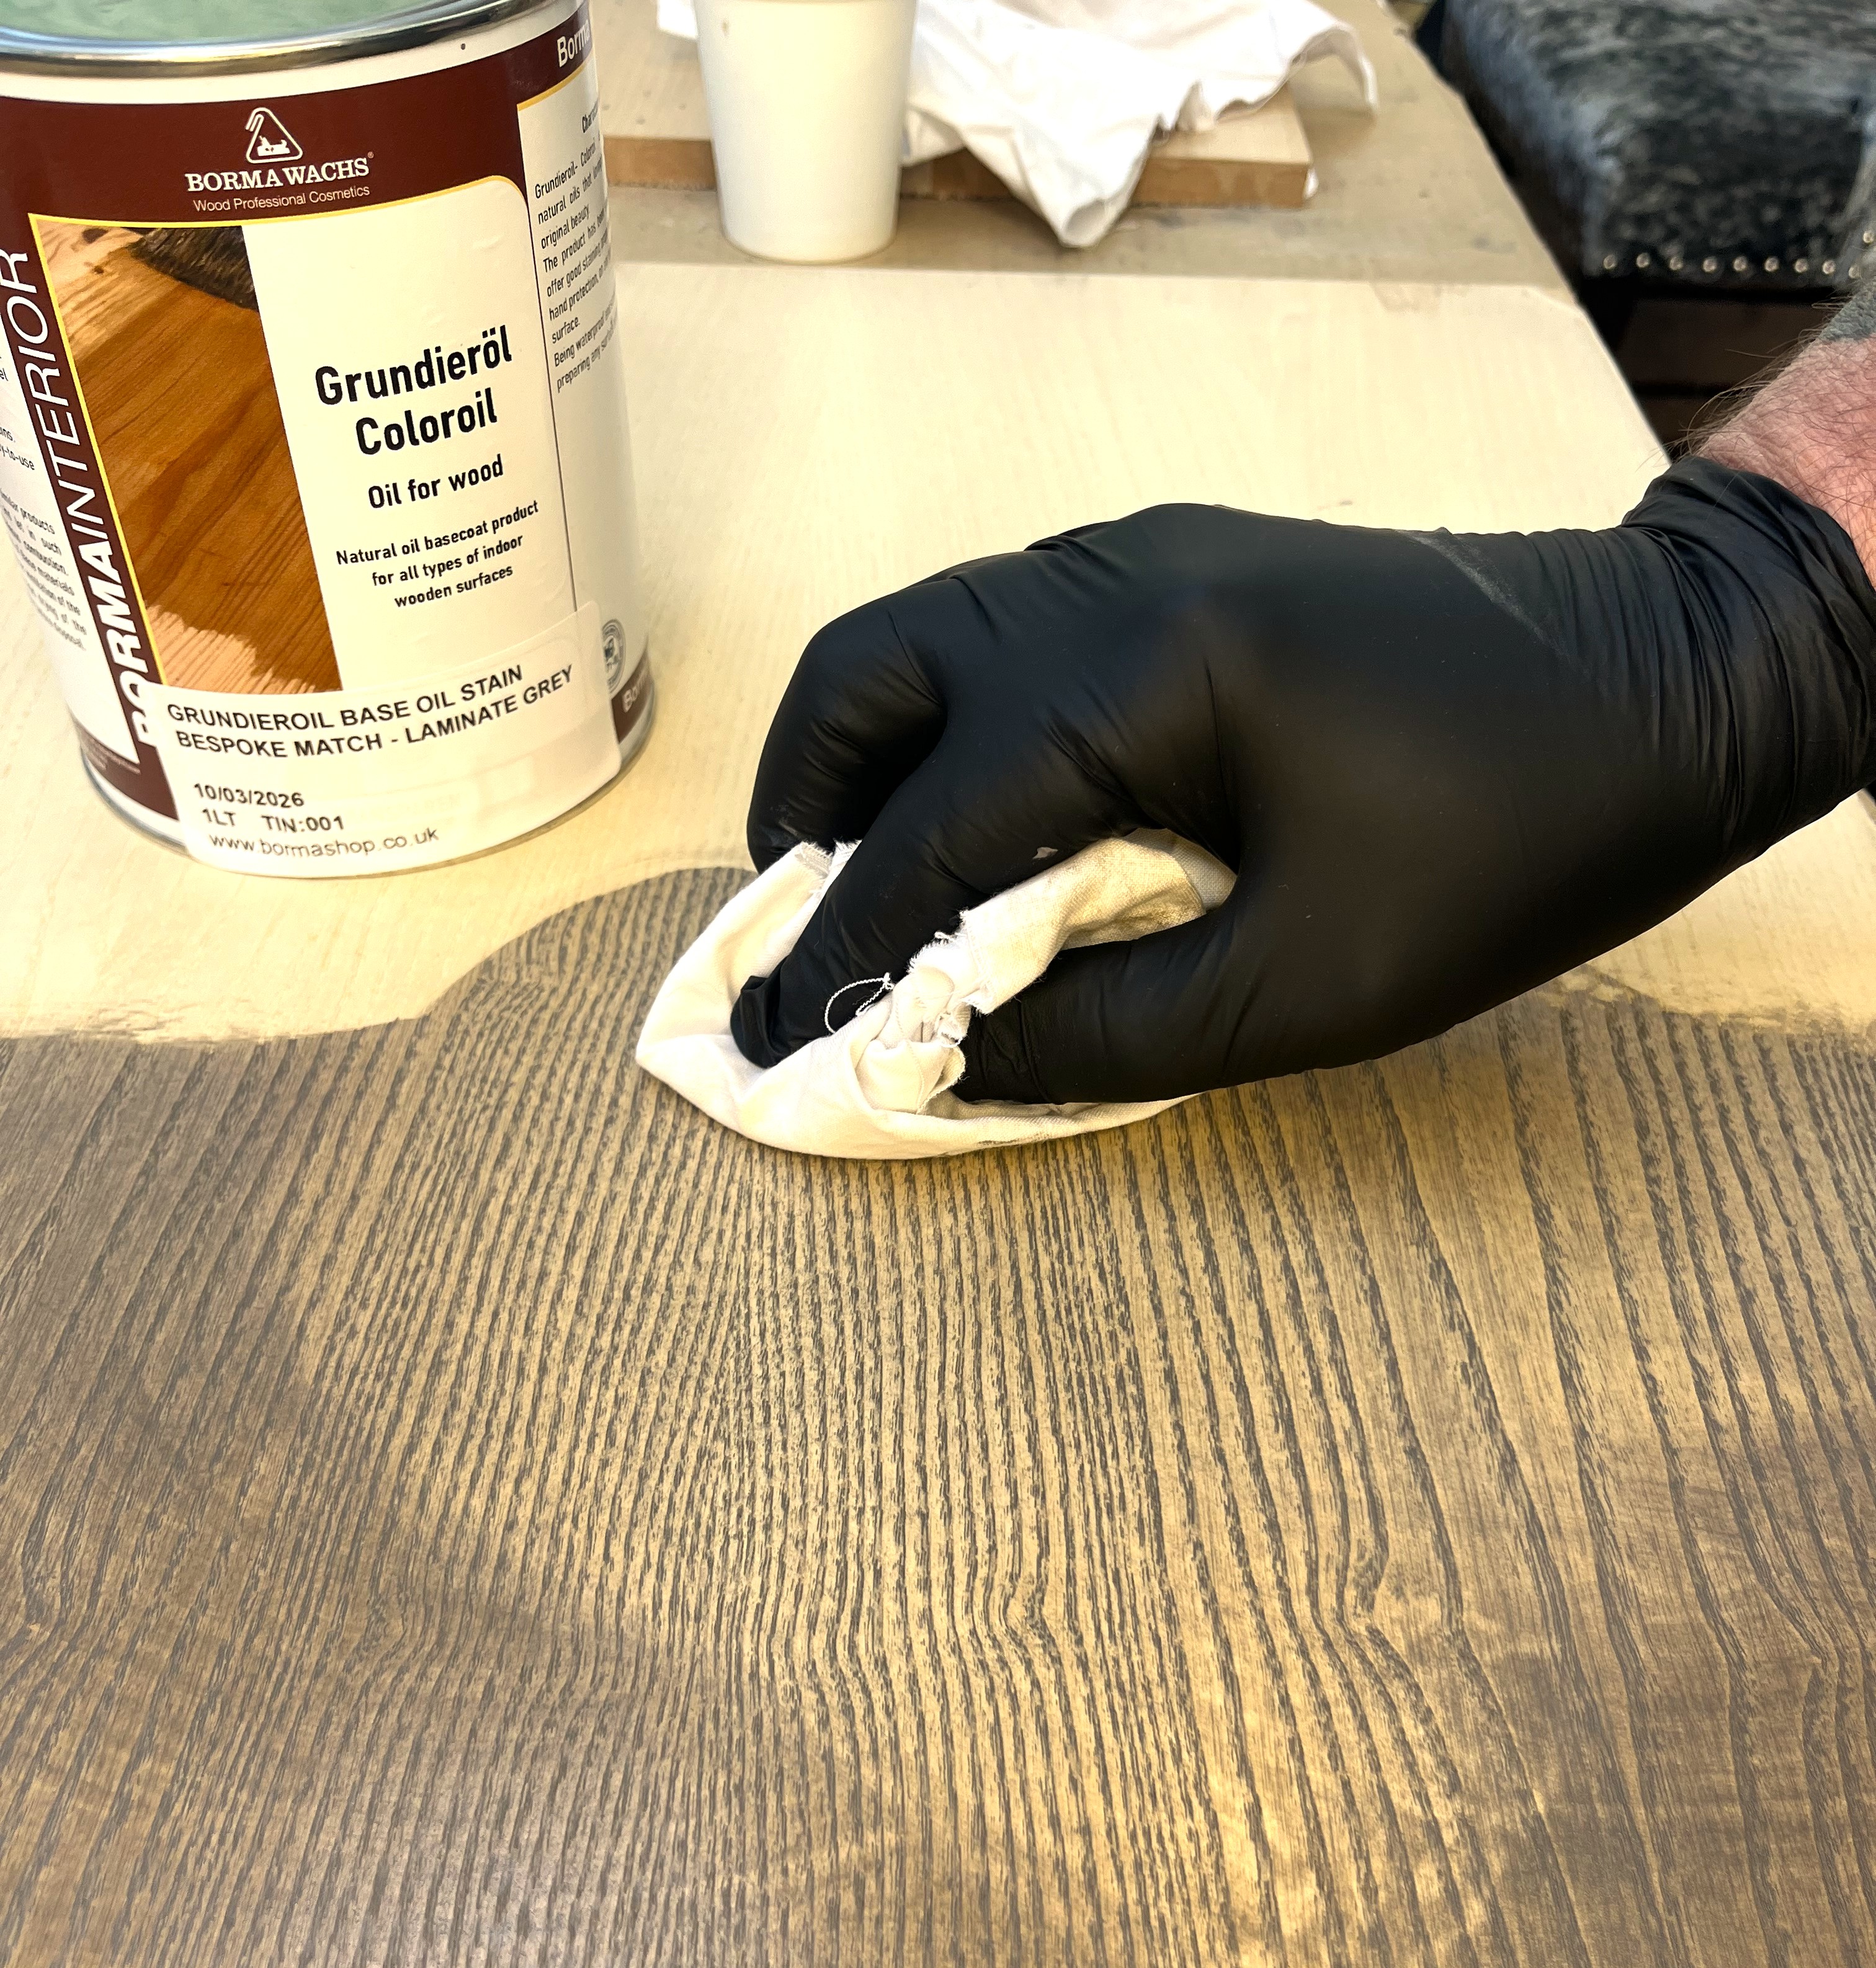
For larger areas it's best to stain in sections (like multiple planks on a wood floor, or well-defined areas of an internal door) purely so you get to evenly remove the stain before it drys.
Whenever you're staining or finishing wood always enable good ventilation and wear the recommended personal protective equipment.
4. Always follow the manufacturers drying ad overcoating guidelines - needless to say diferent types of stain dry at different rates and subsequently shouldn't be over-coated with a finish until they are thoroughly dry. Applying a finish too soon can lead to resolubing of the dyes, 'pick-up' and bleeding of the stain into the finish especially if finishing with a brush or roller due to direct contact. Every manufacturer will have recommended drying times on either their labels or the Product Data Sheets so spend a moment to look these up. It's much better to leave a stain drying longer than recommended than rushing it and undoing all your hard work! All stains benefit from some air-movement during the drying phase and optimum temperatures are between 14-21C.
Also, check that the finish you're going to use to protect the stain is compatiable with it. Most of the time this won't be an issue but some finishes for example don't give as good adhesion over an oil stain as they would over a water stain.
5. Don't forget the basics - before you start, and during the staining process always mix the stain well to ensure all the ingredients are thoroughly blended and there's nothing sitting on the bottom of the can. Check the colour on a scrap piece of the same timber you're using or on an inconspicuos area of the job before you start to confirm the colour is as you want it. If you have more than one tin of stain for the same job take a minute to blend them together so they are uniform.
6. A bit of due diligence - this might sound obvious, but you'd be suprised at how often it get's overlooked and causes uneccesary hassle....be mindful that applying the stain on two different types of wood will give you two different colours desoite the stain coming from the same tin. As most stains are transparent or semi-transparent the colour of the wood places a significant part in the original colour-matching process. Imagine you have a warm cherry stain and you put it on ash and walnut - clearly on the ash it will look much, much lighter and potentially warmer than it would on the darker brown tones of the walnut!
Give the colour-matcher the best opportunity to achieve your perfect colour by providing as much information as possible like what timber you're using, what your application method is, what you'll finish it in etc. Providing photographs of the target colour may seem a quick, easy route but bear in mind pixilation, lighting and different screens can give a totally different look.....and believe it or not we've all had customers sending their target colour pictures by fax!
Frequently Asked Questions About Staining Wood
- Can I use the same wood stain inside and outside? Not really as stains for interior furniture are typically light-fast so don't fade in-doors but they don't contain the UV inhibitors that exterior stains have to protect the timber and the colourants from the harsh rays of the sun. Stains designed for exterior exposure can be used inside however they are normally much slower drying and the colour palette is much more limited.
- Is it OK to just use a wood stain and no topcoat? No, virtually all wood stains need to be over-coated with a finish both to 'lock-in' the stain and impart to some protection against damage from spills, knocks an bangs. The wood stain only really imparts the colour, and for exterior penetrating stains some anti-fungal, anti-mould or anti-termite protection.
- Which is the best stain for a wooden floor? - Borma Wachs Grundieroil Base Oil Stain is perfect for flooring and parquet as it has a long open-time, can be applied mechanically or manually, penetrates very evenly and doesn't leave unsightly patches and ca be over coated with virtually all Borma Wachs oils, waterborne floor coatings and waxes. It comes in a wide variety of standard colours that can be found on our 'Infinity' Colour Chart or can be bespoke matched for your specific project.
- Should I use a Solvent Stain, Oil Stain or Water Stain? - If you're spraying in a spray booth then a solvent-based stain like Borma Wachs PRO VE8570TR00 is best, if you're staining your wood at home in the garage by brush, cloth or roller then either an oil stain like Borma Wachs Grundieroil Base Stain or a water stain like Borma BlueWolf N'Hance Stain is the way to go....it's a 'horses for courses' approach dependent on the look you want (pastel semi-pigmented, transparent wood shade for example), your equipment ad your working environment. For exterior projects like garden furniture or outdoor wooden structures then Borma Wachs Naturaqua Holz Lasur Waterborne Stain is the best choice.
Comments
Leave your comment